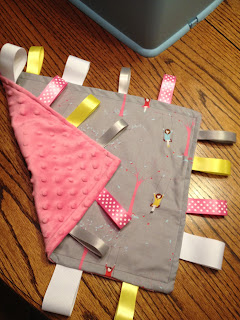
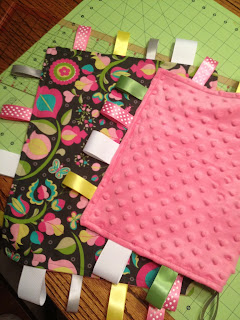
Taggie Blankets
I got it in my head that I wanted to make Carolina a taggie blanket a while ago - I mean really, a long while ago. I didn't follow any pattern or instructions, which at the time seemed like it would be Ok... and I guess it turned out that way, but it probably would've been easier had I got some help. Now that I've done it about ten times I'm getting pretty good at it, and it's a fun gift to give! I did 3 of these in one afternoon - pretty good, especially considering it's me, after all.
 |
| Carolina , Kate, & Maggie's taggie |
 |
| Parker's taggie |
 |
| Allie, Chloe, & Kate's (second) taggie |
1) Cut 16 square in pieces of fabric and minky (I've made them different sizes based on what people asked for, or how much fabric I had, but my favorite size is about 15 square inches)
2) Choose 4 different ribbons to use and cut them into 4, 4-inch strips.
3) Fold the ribbons and place them where you want on the right side of the fabric (pointing into the middle of the square) and pin them.
4) Then I place the minky and fabric right sides together and pin them.
5) Sew all the way around, but leave about a 2 or 3 inch gap in the middle of one of the sides.
6) Next, carefully turn it inside out (pulling out pins as you go), and use scissors to turn your corners all the way out.
7) Iron it on the fabric side, folding the fabric at the gap to match the rest of the blanket.
8) Pin the last ribbon and gap closed, then just sew around the outside, making sure you sewed the gap securely down.
even though you gave specific instructions, I think I will continue to have you be my go-to taggie girl!
ReplyDelete